Healthy Nutella Recipe – Rich, Creamy & Better Than Store-Bought
There are just some foods that bring me right back to my childhood, and Nutella is one of them. As a kid, I ate it on bread, in oatmeal, and sometimes I even got a spoonful straight out of the jar when no one was looking. The only problem is that the store-bought variety has way too much sugar and oil. That’s when I decided to make my healthy Nutella recipe.
What I enjoy the most about this Nutella recipe is that it delivers the same unique chocolate-hazelnut taste but with a simpler list of ingredients and a fresher taste. The roasted hazelnuts provide the foundation of rich flavor, cocoa powder, and melted chocolate add the chocolatey twist we all love about Nutella.
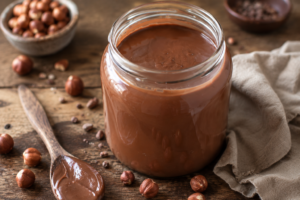
The first time I made this homemade Nutella, I didn’t process it long enough because I thought my food processor couldn’t handle it. In the end, I ended up with a hazelnut-based spread with a crumbly texture rather than a silky chocolate-hazelnut spread. All it took was a bit of patience and a couple of extra minutes,s and hazelnuts provided the desired creamy consistency.
So, if you want to make a silky, smooth, and incredibly flavorful homemade Nutella, here’s my Healthy Nutella Recipe.
What You’ll Need
For the Nutella
- 2 cups of hazelnuts (about 280g)
- 1 tablespoon of cocoa powder (8g)
- 3 tablespoons of powdered sugar (24g)
- ½ teaspoon of salt (3g)
- ½ teaspoon of vanilla extract (2.5g)
- 4 ounces of melted dark chocolate (115g)
Ingredient Notes
- Hazelnuts – These are the key ingredients of our recipe. Roasted hazelnuts have a more intense flavor and help release natural hazelnut oils during processing.
- Dark chocolate – Adds to the richness of the spread and makes the texture smoother compared to cocoa powder.
- Cocoa powder – Intensifies the chocolate taste of Nutella.
- Vanilla extract – Even a small amount of it makes a huge difference in flavor.
- Salt – Balances the sweetness and makes the chocolate taste more intense.
Roast the Hazelnuts
Preheat the oven to 350°F (175°C).
Spread hazelnuts in a single layer on a baking tray and bake them for 7-8 minutes, until they become warm and nutty.
The skins start to peel off,ff and there’s an amazing smell of baked nuts and pastries in the kitchen.
However, be careful not to overbake the hazelnuts. They can become bitter quite quickly.
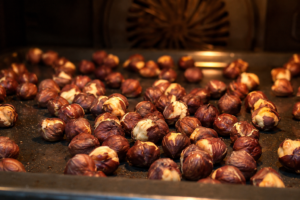
Pro Tip: I always shake the baking tray halfway through the process to make hazelnuts bake more evenly.
Remove the Skins
Place the warm hazelnuts in a clean kitchen towel and wrap them up.
Rub them vigorously against each other. As you rub, the dark skin begins to come off.
It’s fine if you leave a little bit of skin. They won’t influence the final texture.
The first time I did this step, I tried to remove all the skins and spent almost ten minutes doing this. It was unnecessary. So now I simply remove the majority of them and continue.
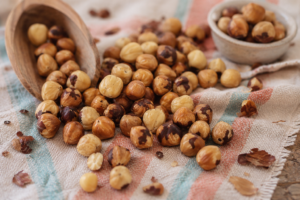
Hazelnuts should look slightly golden and have only a few pieces of skin left.
Blend into Hazelnut Butter
Add hazelnuts to the food processor.
First of all, they get crushed into rough crumbs.
Then they become finer crumbs.
Next comes the phase of the paste.
Finally, after about 3 minutes, the natural oils get released and transform hazelnuts into hazelnut butter.
This is the stage when patience plays an important role.
People often stop processing hazelnuts at the crumb stage, thinking they cannot be turned into butter. However, keep processing.
You’ll hear the sound slightly changing as the blades start processing a smoother mixture.
Paste should look shiny and spreadable.
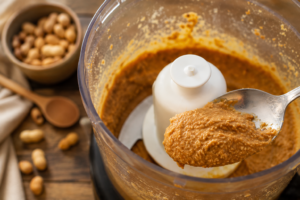
Pro Tip: Stop the food processor a couple of times to scrape the mixture down the sides. It helps blend everything well.
Add the Chocolate Ingredients
Once the hazelnut butter is smooth, add:
- Cocoa powder
- Powdered sugar
- Salt
- Vanilla extract
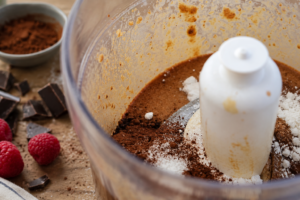
Pulse a few times to mix everything.
The mixture darkens immediately and gets more similar to chocolate spread.
At this stage, it might look slightly thick. That’s completely okay.
The smell changes significantly, becoming richer due to the combined flavors of cocoa and vanilla.
Add the Melted Chocolate
Melt the dark chocolate and let it cool down.
The,n slowly add it into the food processor while processing.
In seconds, the mixture transforms into a silky chocolate spread.
Its color becomes darker and shinier.
And it becomes really hard not to stop the processor and eat the Nutella right now.
I simply love this step because at this stage the whole Nutella looks ready and just delicious.
Process until completely smooth.
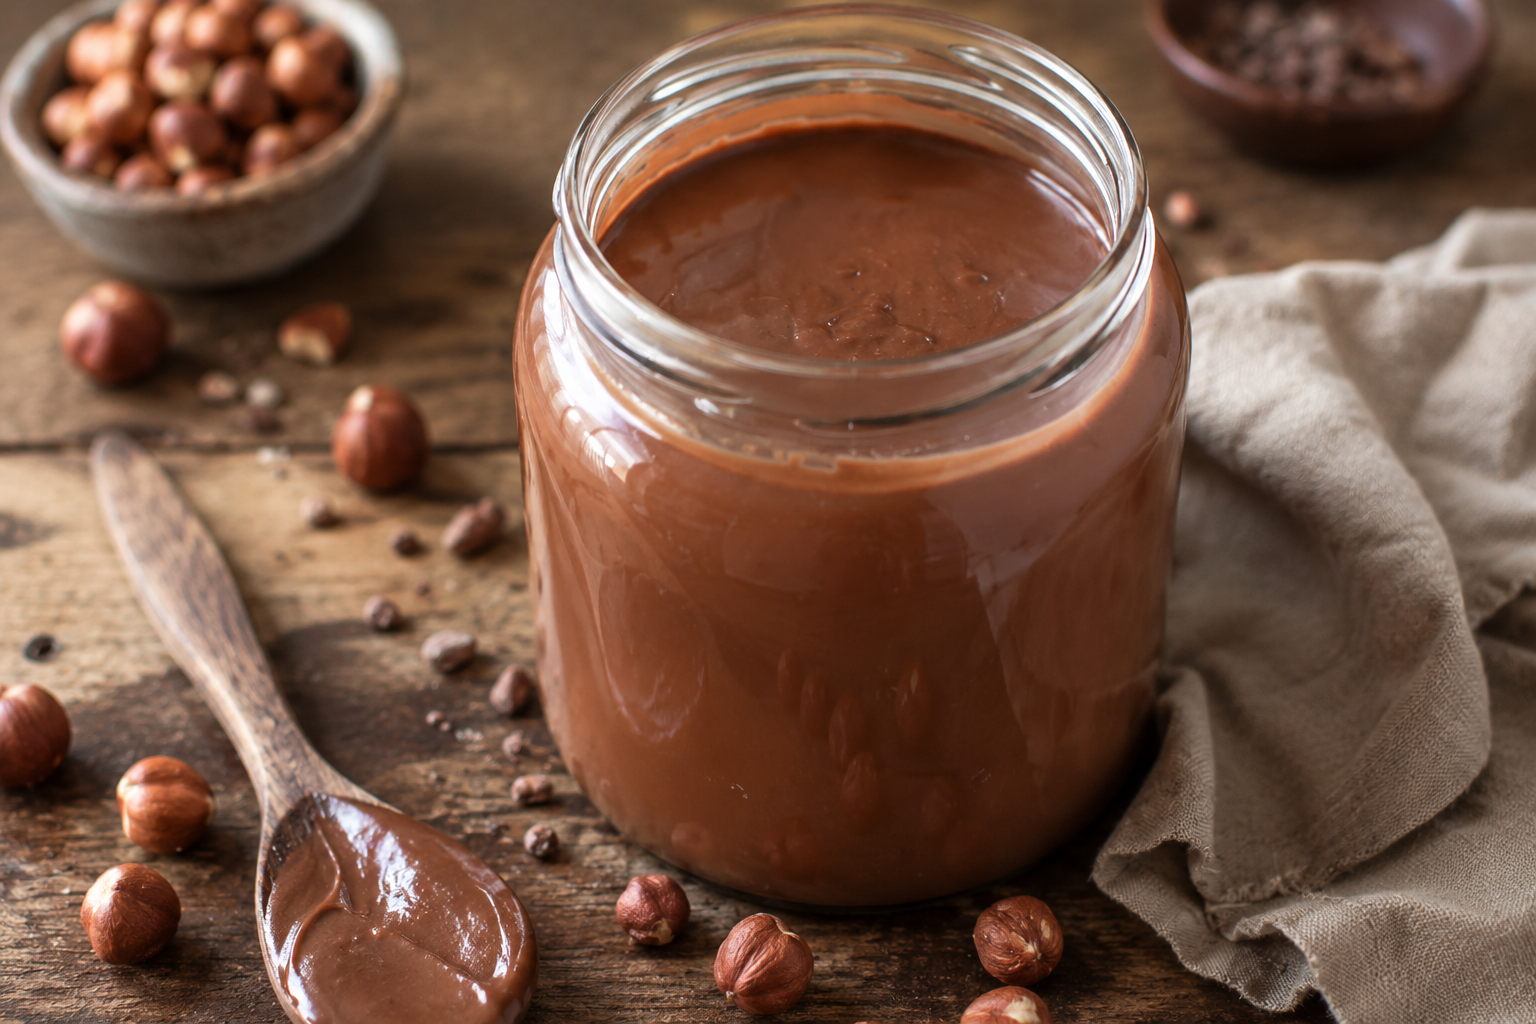
Finished Nutella should flow smoothly from a spoon but still retain its shape.

Pro Tip: If your Nutella turns out to be too thick, add a teaspoon of warm milk or any neutral oil and blend again.
Adjust the Texture
Our homemade Nutella can slightly differ depending on your food processor and the natural oil content of hazelnuts.
If Nutella is too thick:
Add a small amount of milk.
Process again.
If Nutella is too thin:
Cool it slightly.
Refrigerate for 20-30 minutes.
While cooling down, the chocolate mixture thickens on its own due to the natural properties.
Nutella should be creamy, spreadable, and smooth enough to glaze the toast.
Transfer into a Jar
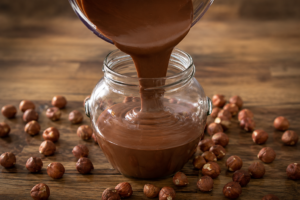
Spoon the Nutella into a clean glass jar.
Tap the jar gently on the table to get rid of any air pockets.
The surface of the Nutella should look shiny and smooth.
It’s extremely tempting to grab a spoon and start tasting the Nutella immediately.
Actually, I do this very often.
The Nutella is very chocolatey and has an intense taste of roasted hazelnuts.
Mistakes to Avoid
Stopping the Food Processor Too Early
The mistake:
The hazelnuts still look dry and crumbly.
Why does it happen:
People assume hazelnuts won’t become smooth.
How to avoid it:
Keep processing. The oils should have enough time to get released.
Over-Roasting the Hazelnuts
The mistake:
The spread gets a bitter taste.
Why does it happen:
Hazelnuts can easily burn.
How to avoid it:
Watch carefully after the six-minute mark.
Adding Chocolate That Is Too Hot
The mistake:
The texture becomes uneven.
Why does it happen:
Very hot chocolate affects the texture of the mixture.
How to avoid it:
Allow the chocolate to cool down slightly before adding it.
Not Scraping the Bowl
The mistake:
Little pieces remain in the mixture.
Why does it happen:
The ingredients stay on the sides of the bowl.
How to avoid it:
Scrape the bowl a few times during the process.
Using Old Hazelnuts
The mistake:
The Nutella tastes flat or stale.
Why does it happen:
Nuts lose their flavor over time.
How to avoid it:
Use fresh hazelnuts.
Ways to Change It Up
Make It Extra Dark Chocolate
Add one extra tablespoon of cocoa powder to get a darker chocolate flavor. It makes the Nutella richer and less sweet.
Add Espresso
One teaspoon of instant espresso powder will enhance the taste of the chocolate without turning it into coffee.
Make It Dairy-Free
Use dairy-free dark chocolate and add a little oat milk if necessary. The Nutella will be creamy and delicious.
How to Store and Serve
Room Temperature
Store at room temperature in an airtight jar up to 3 days.
Refrigerator
Store in the fridge for 2 weeks.
The Nutella gets firmer at cold temperatures.
Freezer
Store in the freezer for 3 months in a freezer-safe container.
Thaw in the fridge overnight before serving.
Best Ways to Serve
I love eating my Nutella on warm toast while it’s still soft.
But it’s amazing on:
- pancakes
- waffles
- crepes
- banana bread
- oatmeal
- apple slices
- strawberries
A spoon of Nutella added to warm oatmeal is my favorite breakfast.
Frequently Asked Questions
Is homemade Nutella healthier than store-bought Nutella?
Generally, yes. Homemade Nutella often has a higher content of hazelnuts and fewer processed ingredients than commercial Nutella.
Why isn’t my Nutella smooth?
It’s likely because you haven’t processed the hazelnuts long enough. Try processing them further.
Can I use milk chocolate instead of dark chocolate?
Sure, but it will make the Nutella sweeter and softer.
Do I have to remove the hazelnut skins?
No. But if you remove them, it will result in a smoother texture and milder taste.
Can I make this Nutella without powdered sugar?
Yes. I recommend using maple syrup, dates, or another sweetener. But the texture might slightly change.
Making Nutella at home always feels like magic to me. Just a few roasted hazelnuts and some pantry ingredients turn into a rich and yummy chocolate spread.
If you try my Healthy Nutella Recipe, you shouldn’t be surprised if it disappears quickly. I’m sure it will be a regular on your countertop as it is mine.